This blog post is mostly for the photo enthusiasts (or those who’d like to become one). I just want to tell you about a really handy app and share my experience with my photo equipment on this journey. Hopefully I’ll get some feedback from you, tips, how I can improve, etc.
I briefly mentioned in an earlier post that I found an app shortly before our trip. It’s called Photopills and it really has helped me a lot with my time lapse photography. It tells me (even without an internet connection, super important as we did not have wifi or cell phone reception on every campground) where and when the sun rises/sets, how long the golden hour is and where I can find the stars and the Milky Way at night, even with AR overlay on the iPhone camera. It also includes some calculators and interval time suggestions for time lapses and further helpful information. I can recommend this app wholeheartedly, everyone who wants to take photos and/or time lapses of the sun, moon and stars should give this app a try.
To my equipment: I have been taking photos with the Canon 6D for 2.5 years now and I am still really happy with it. For this trip I gave the GPS function a try and it’s been really helpful: Now I now for sure for every photo where I’ve taken it and the timestamp is correct (if you set the timezone, unfortunately you still have to do this manually). The camera also comes with wifi connectivity, this makes it possible for me to control the exposure via an app on my phone (qDSLR Dashboard), very handy and also necessary for the „Holy Grail“ time lapses of sunrises and sunset where the exposure of the photos has to be continually adjusted over the course of the time lapse. So far I only had one battery for my camera (which was enough since they last seemingly forever if you only pick up your camera once in a while) but for this trip I got a couple of spare batteries made by Baxxtar. They don’t last as long as the original Canon battery but they are way cheaper. Works for me. They also came with a 12V car charger, this way I can charge them up on our drives between the campgrounds. That worked pretty well so far.
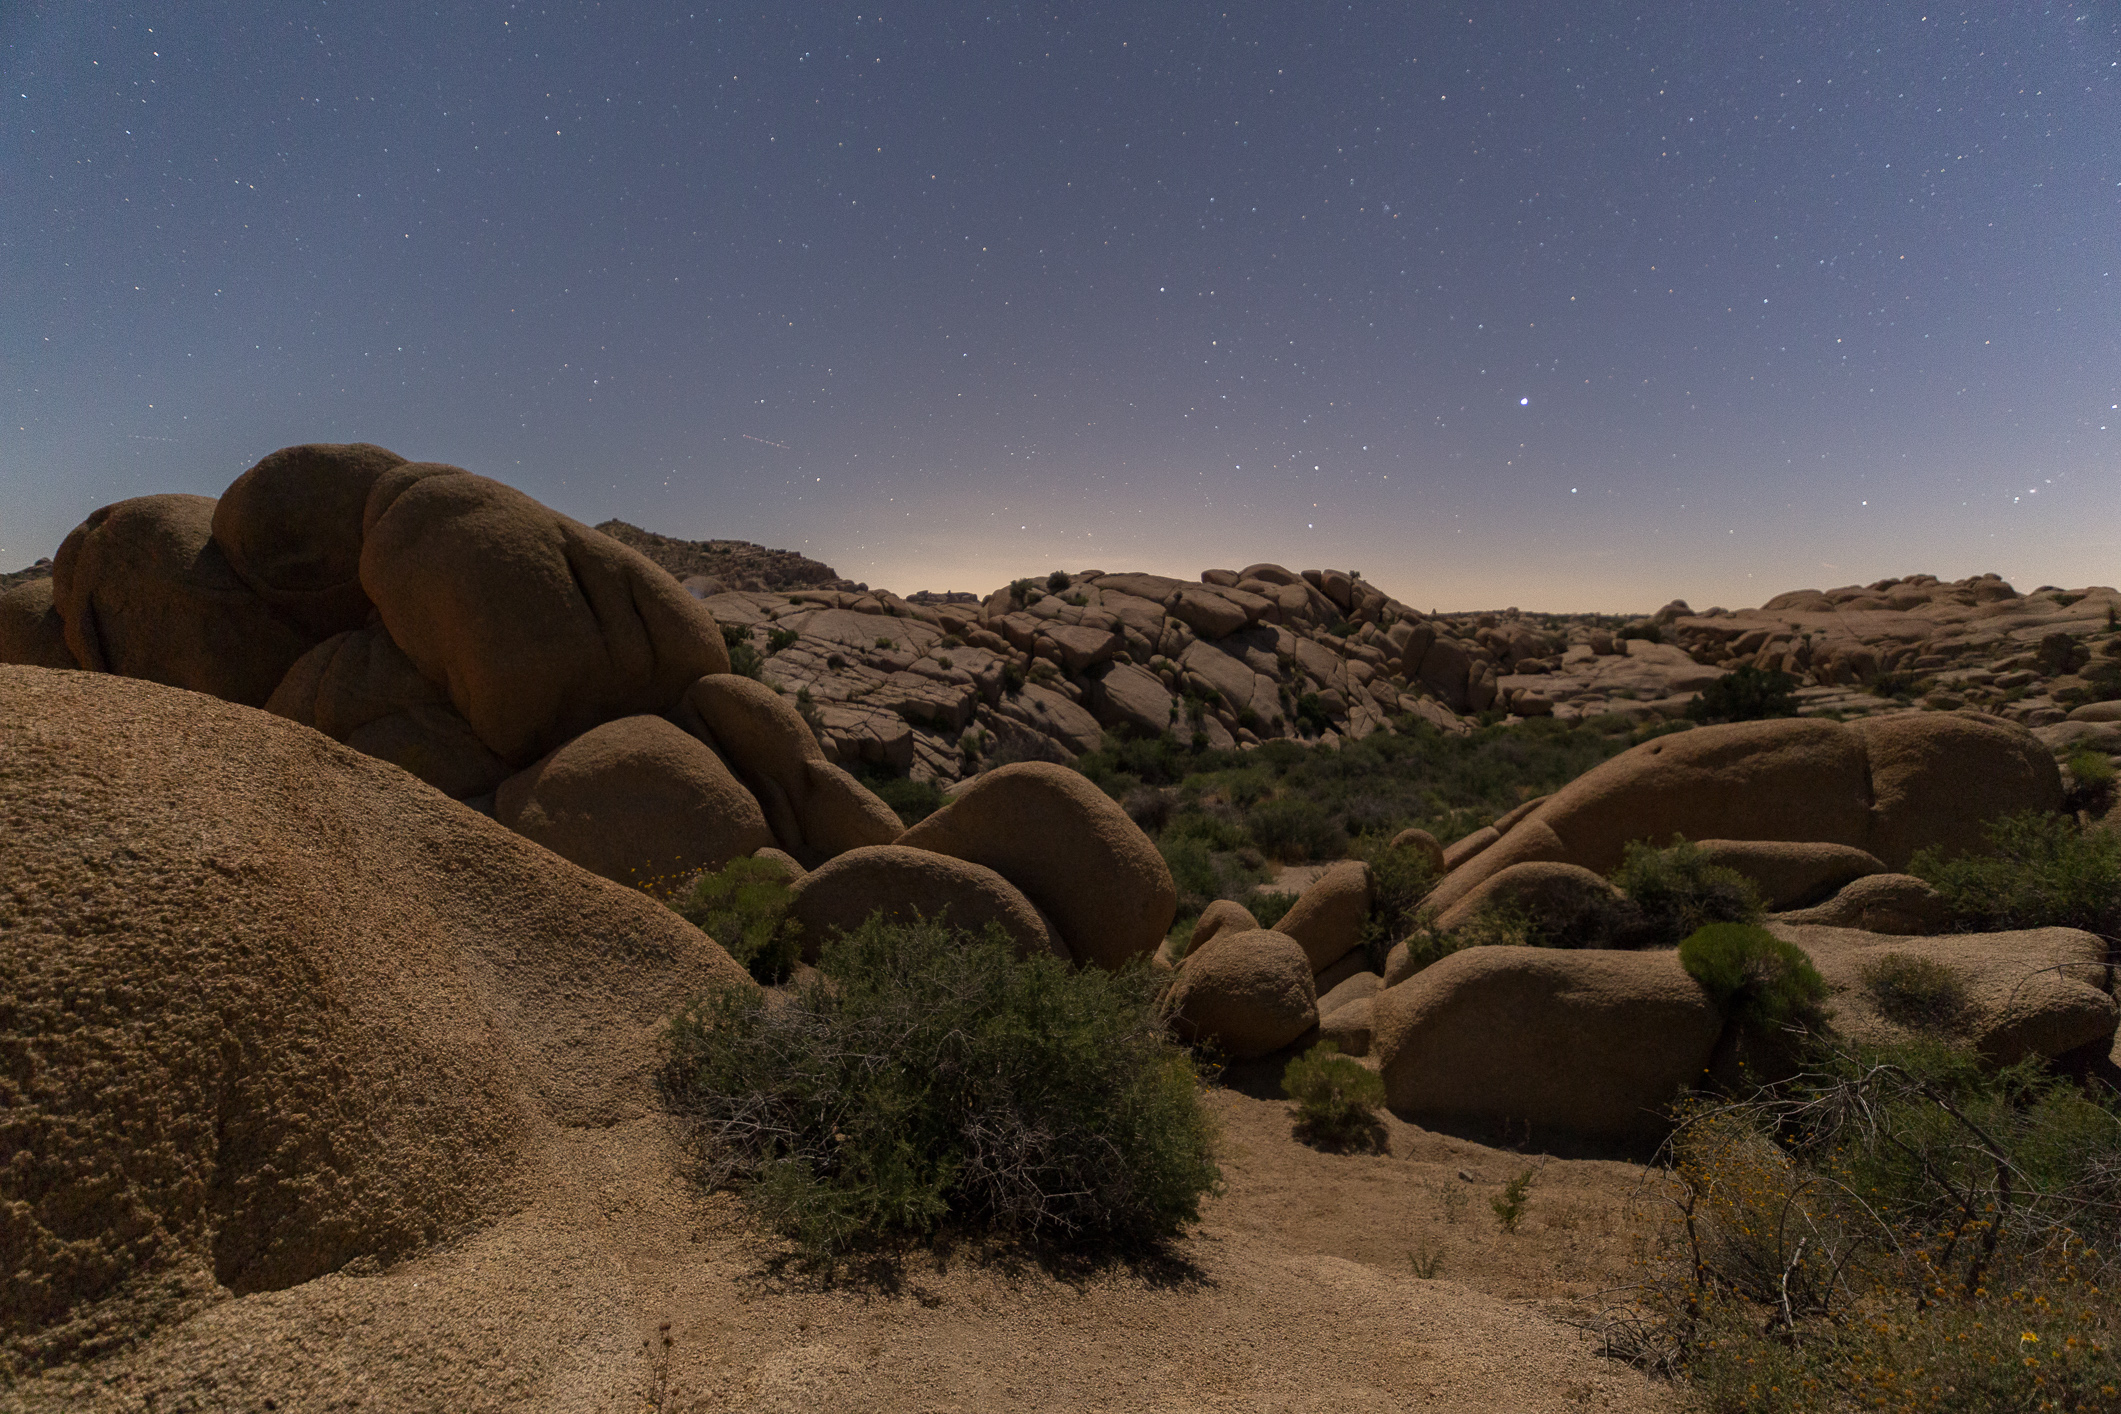
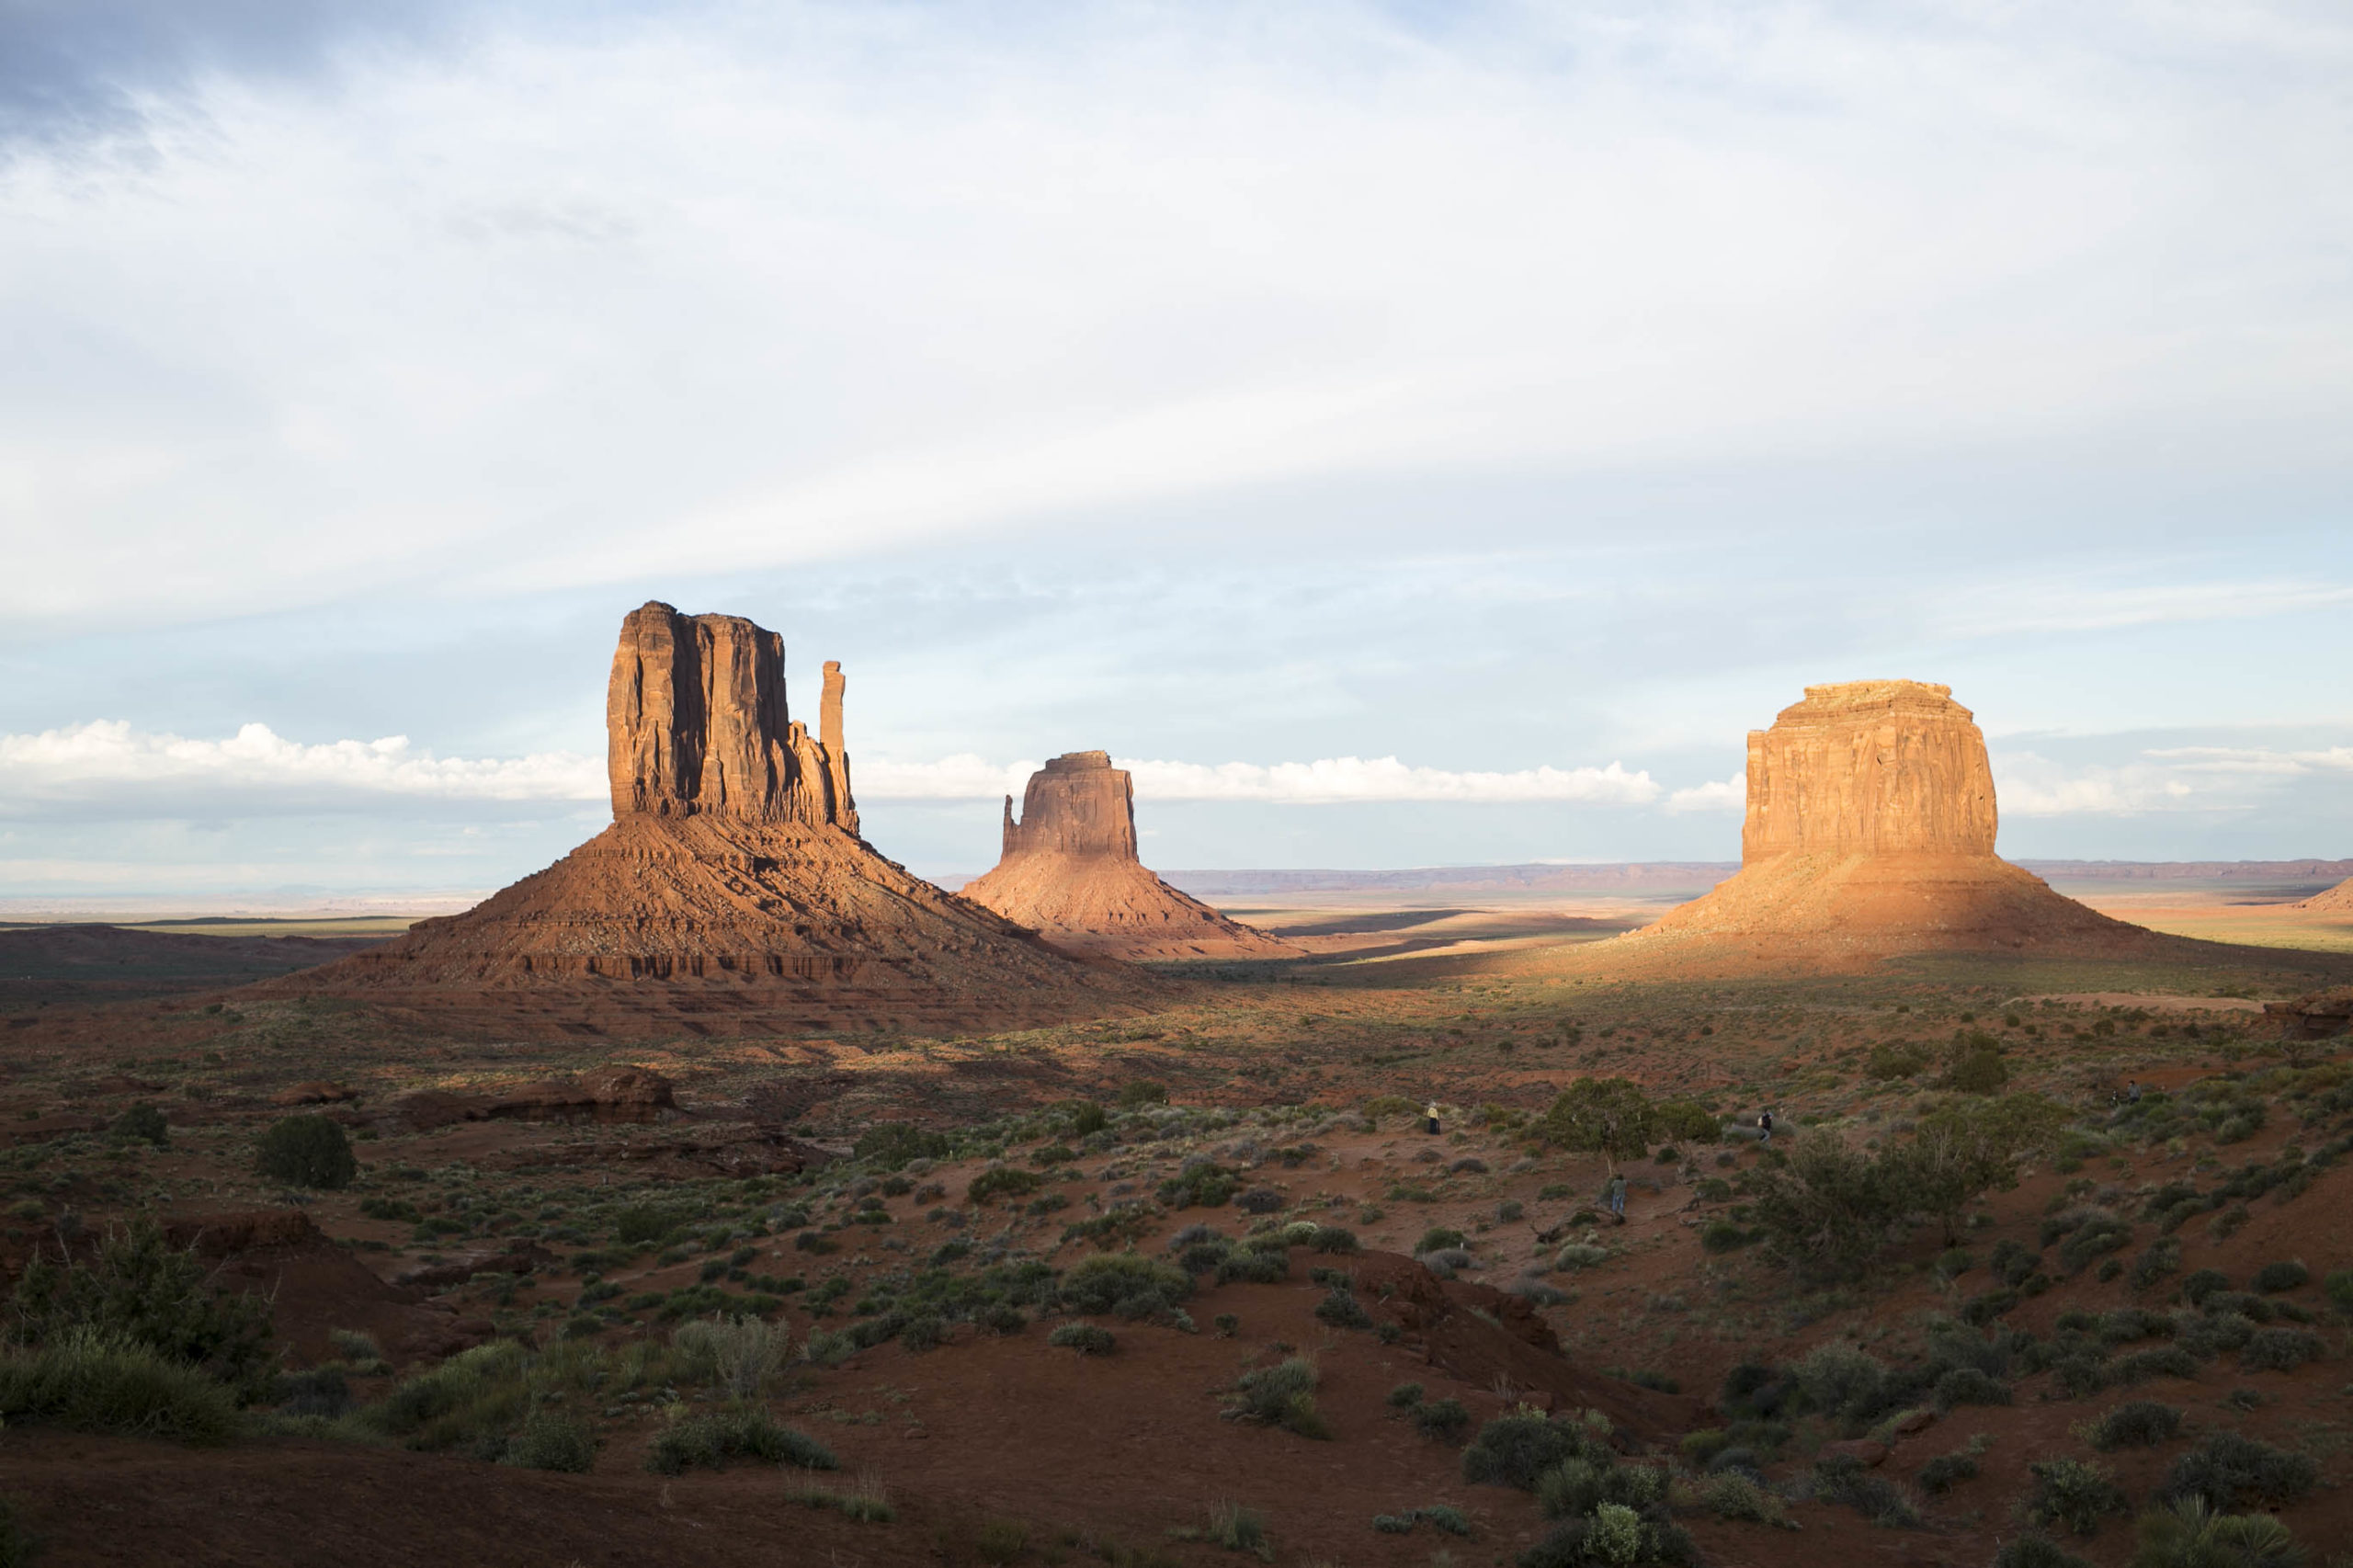
A hotly debated topic is the choice of the right travel lens(es). There are a million threads, recommendations and reviews („The best travel zoom for DSLR“) in the internet. Therefore let me say one thing: Find what works for you and don’t bash the others who use something else. Everyone has their own shooting style and requirements and there is definitely no glove that fits all. That being said, what follows is no general recommendation, just my humble experience. I only have prime lenses for my DSLR (Canon 35mm F2.0, Canon 85mm F1.8 and my most recent addition, the Irix 15mm). Do I sometimes miss the option to zoom in or out? Of course. But I also really like the 35mm focal length, the F2 aperture and it forces me to think more about my composition – if necessary I can zoom with my feet 😉 Plus it’s not very heavy – an important point if you’re already carrying a kid on your back. I brought the 85mm along, but I’ve only taken 54 photos with it (of more than 2500). So I definitely could’ve left this one at home. My new 15mm saw a lot more usage. I decided to get the Irix Blackstone 15mm, a lens without AF (the wide angle lenses with AF for FF are too expensive IMHO) but at leas it has AF confirm, so I know when the object is in focus. For a lot of landscape photography (Grand Canyon, Horseshoe Bend, Zion, Sequoia National Forest) I was glad to have this lens on my camera. For me it felt like it helped me to capture the size and scope of these amazing places. Quite a few of my favorite shots on this trip were taken with this lens:


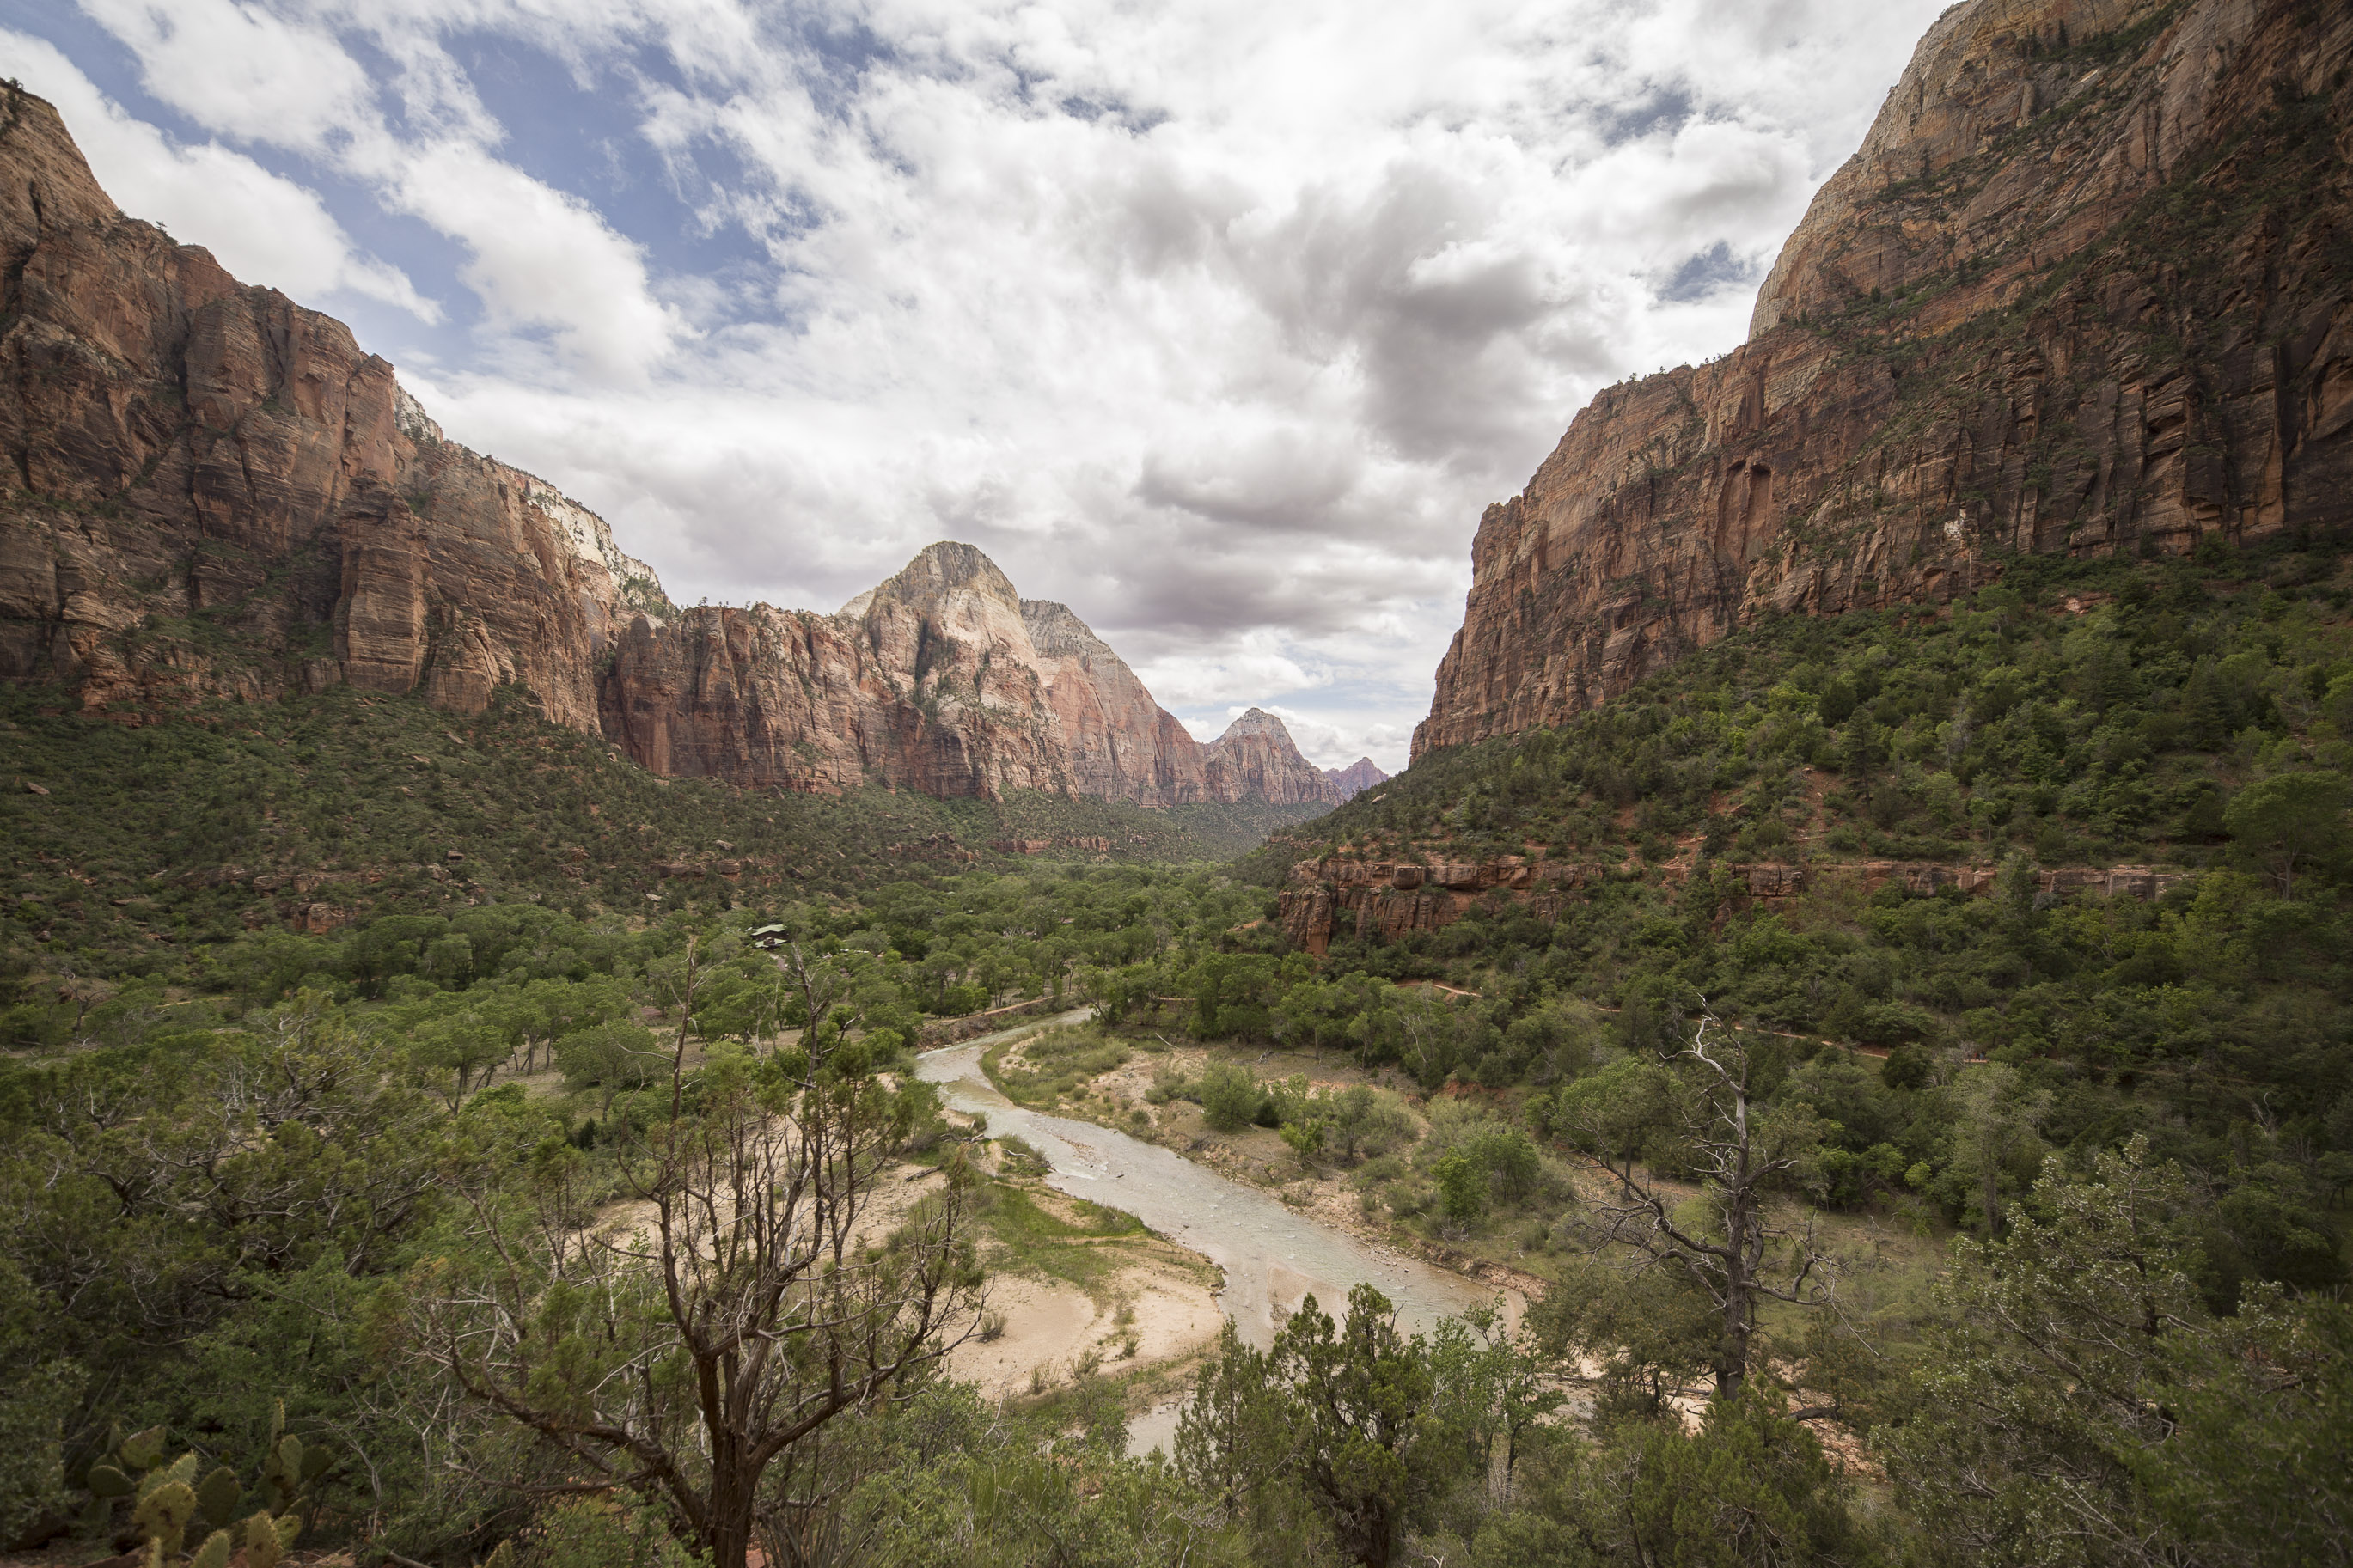
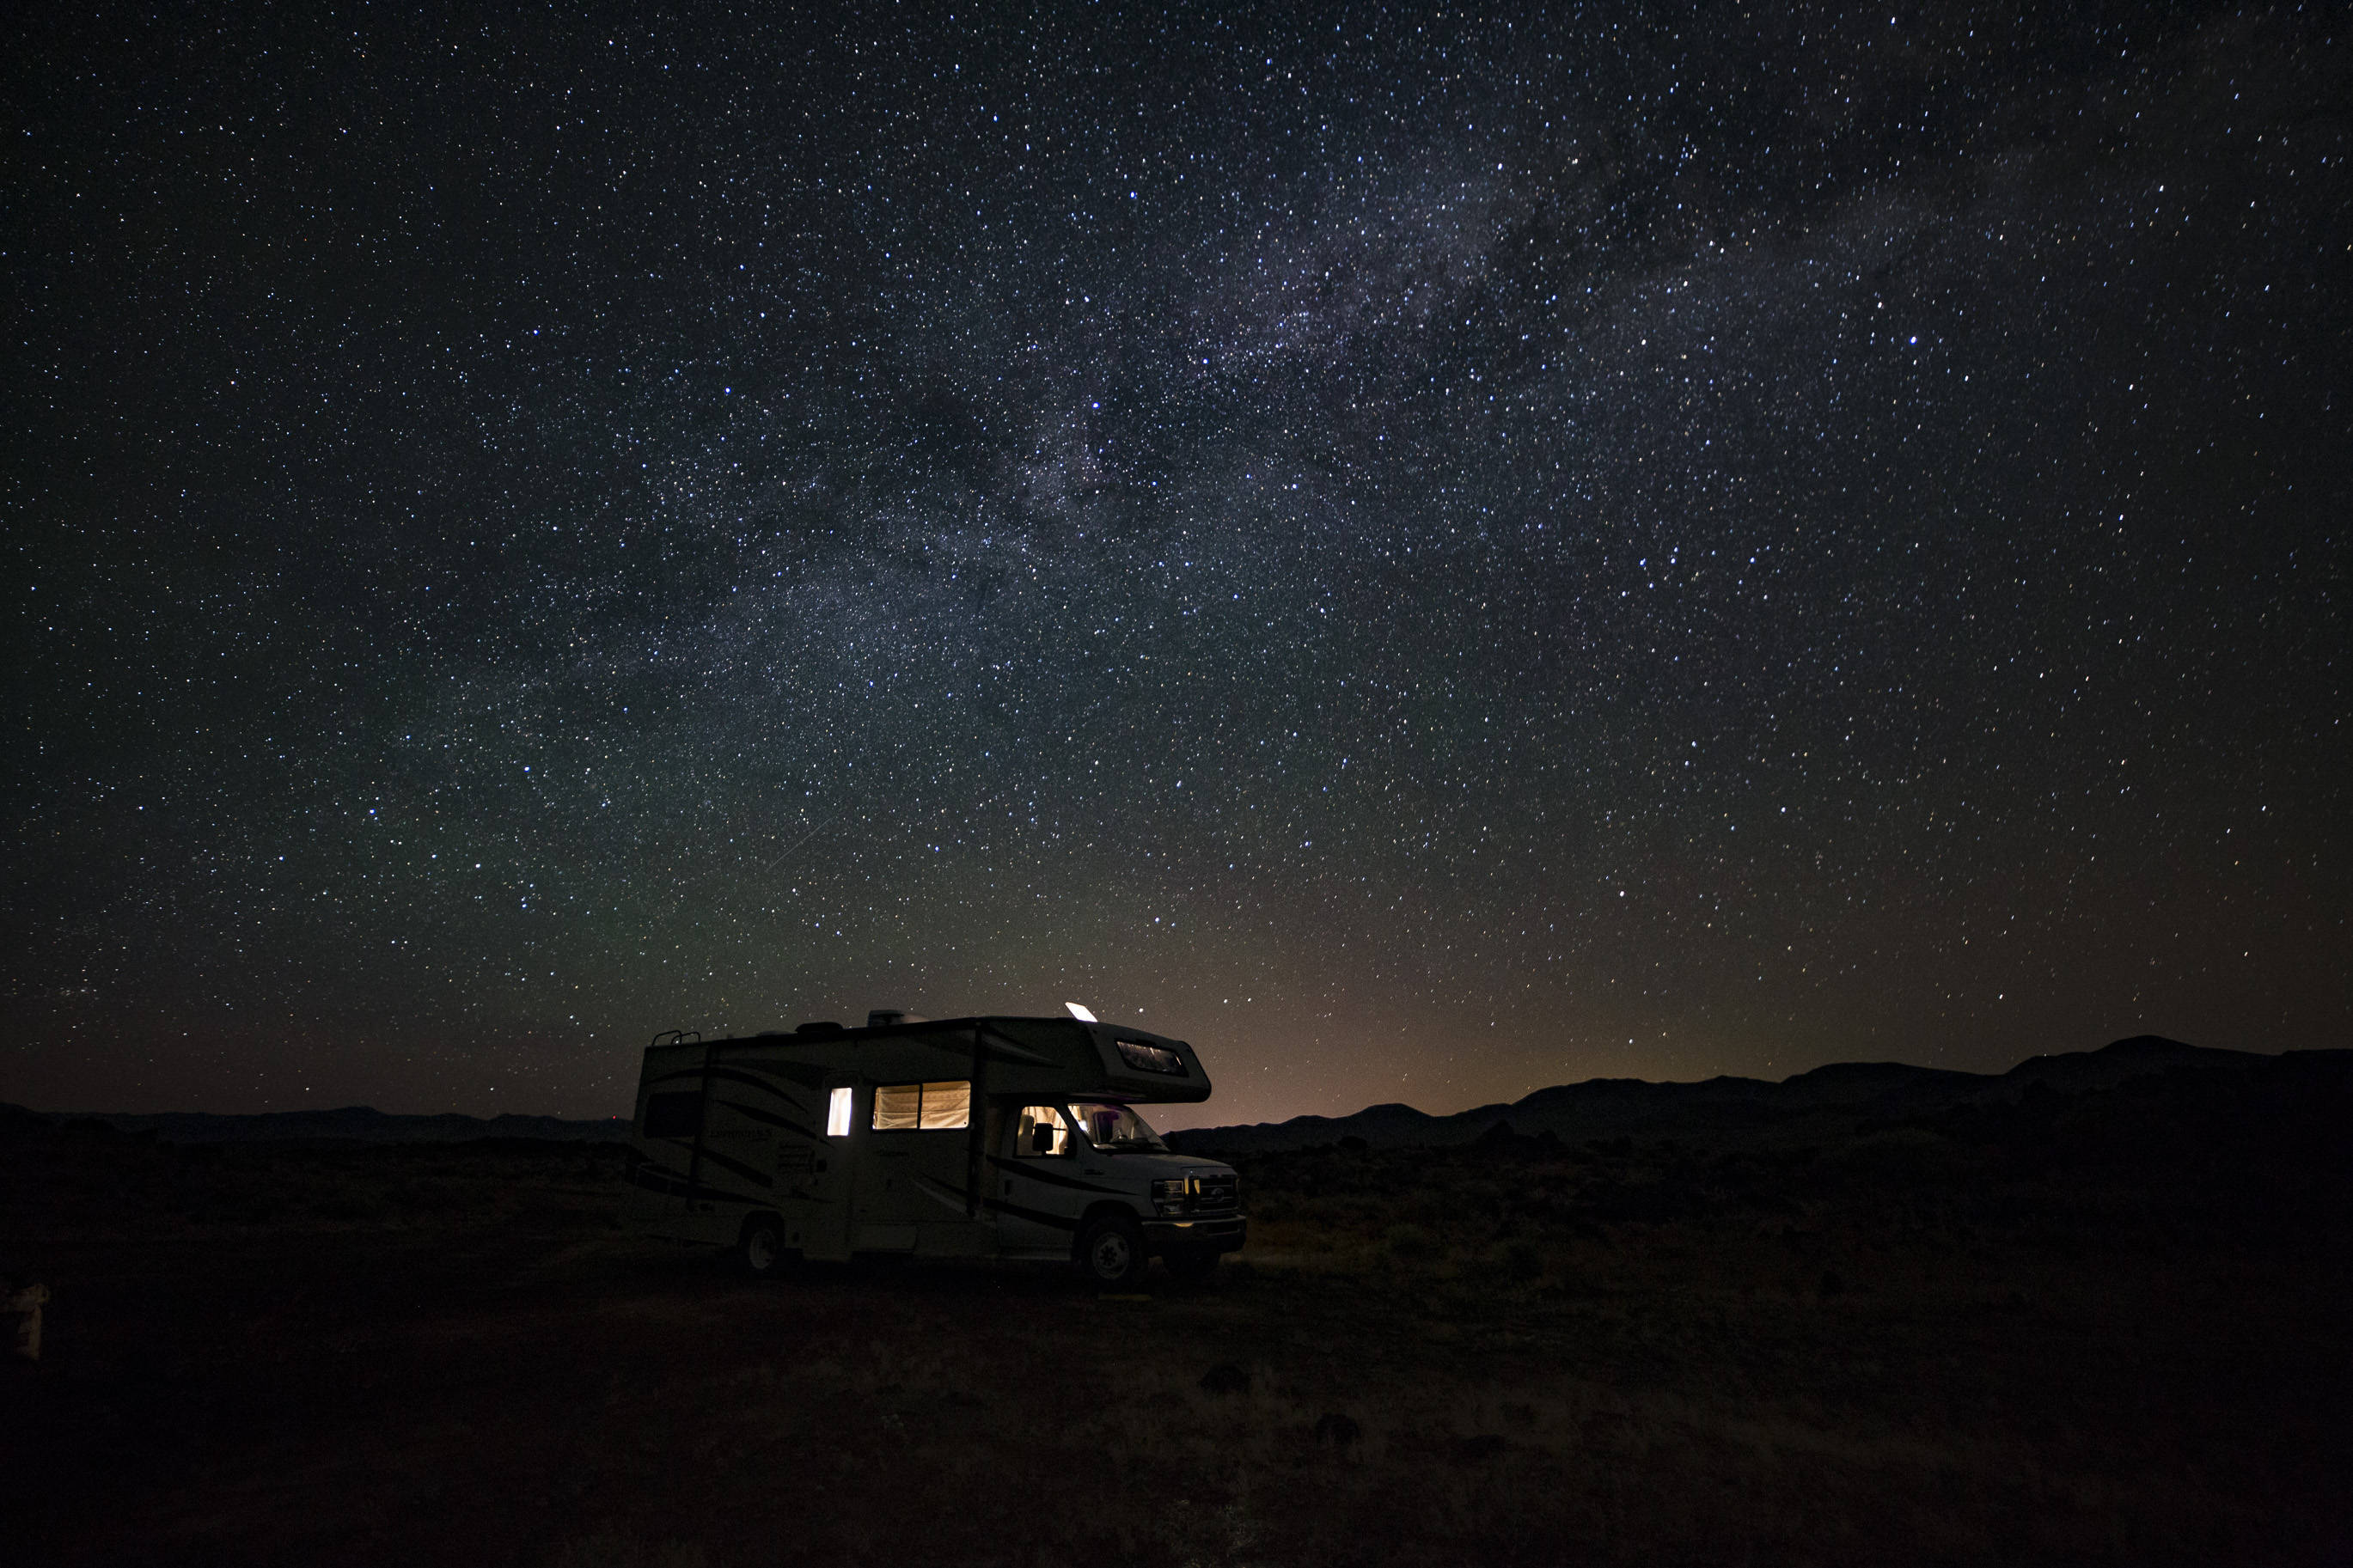
The difference between 15 and 35 mm can be seen with the following two photos:
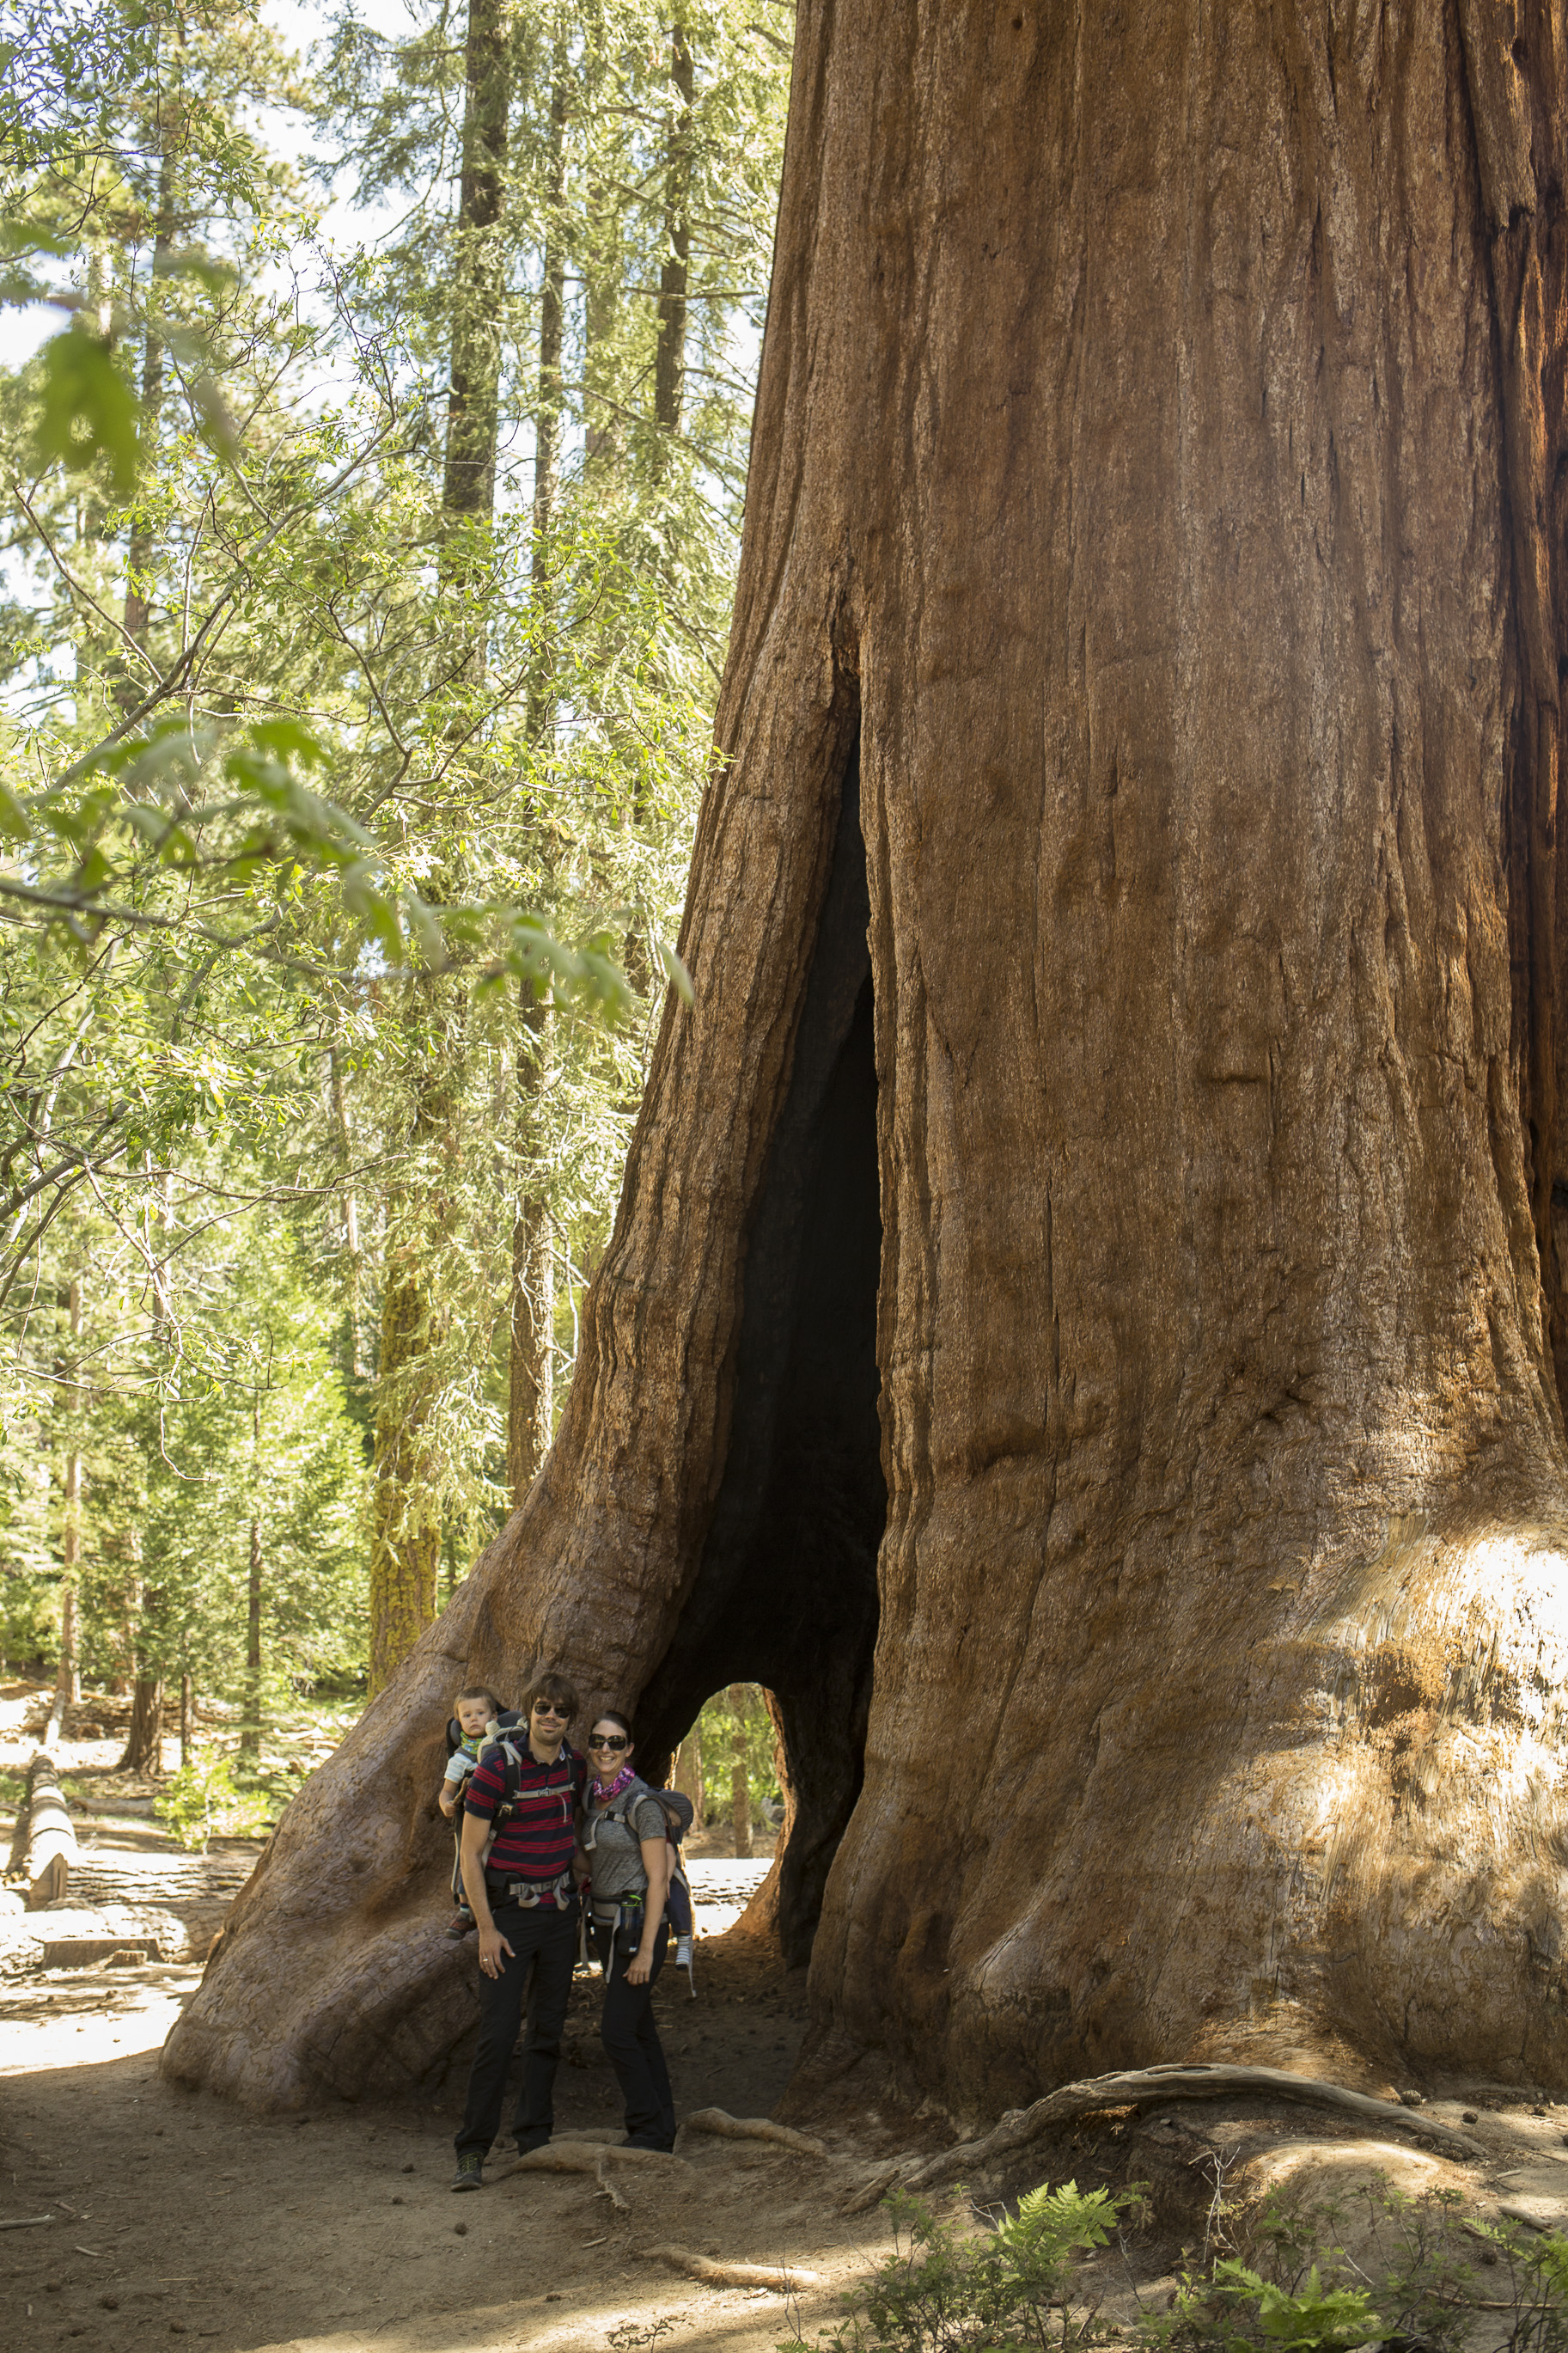
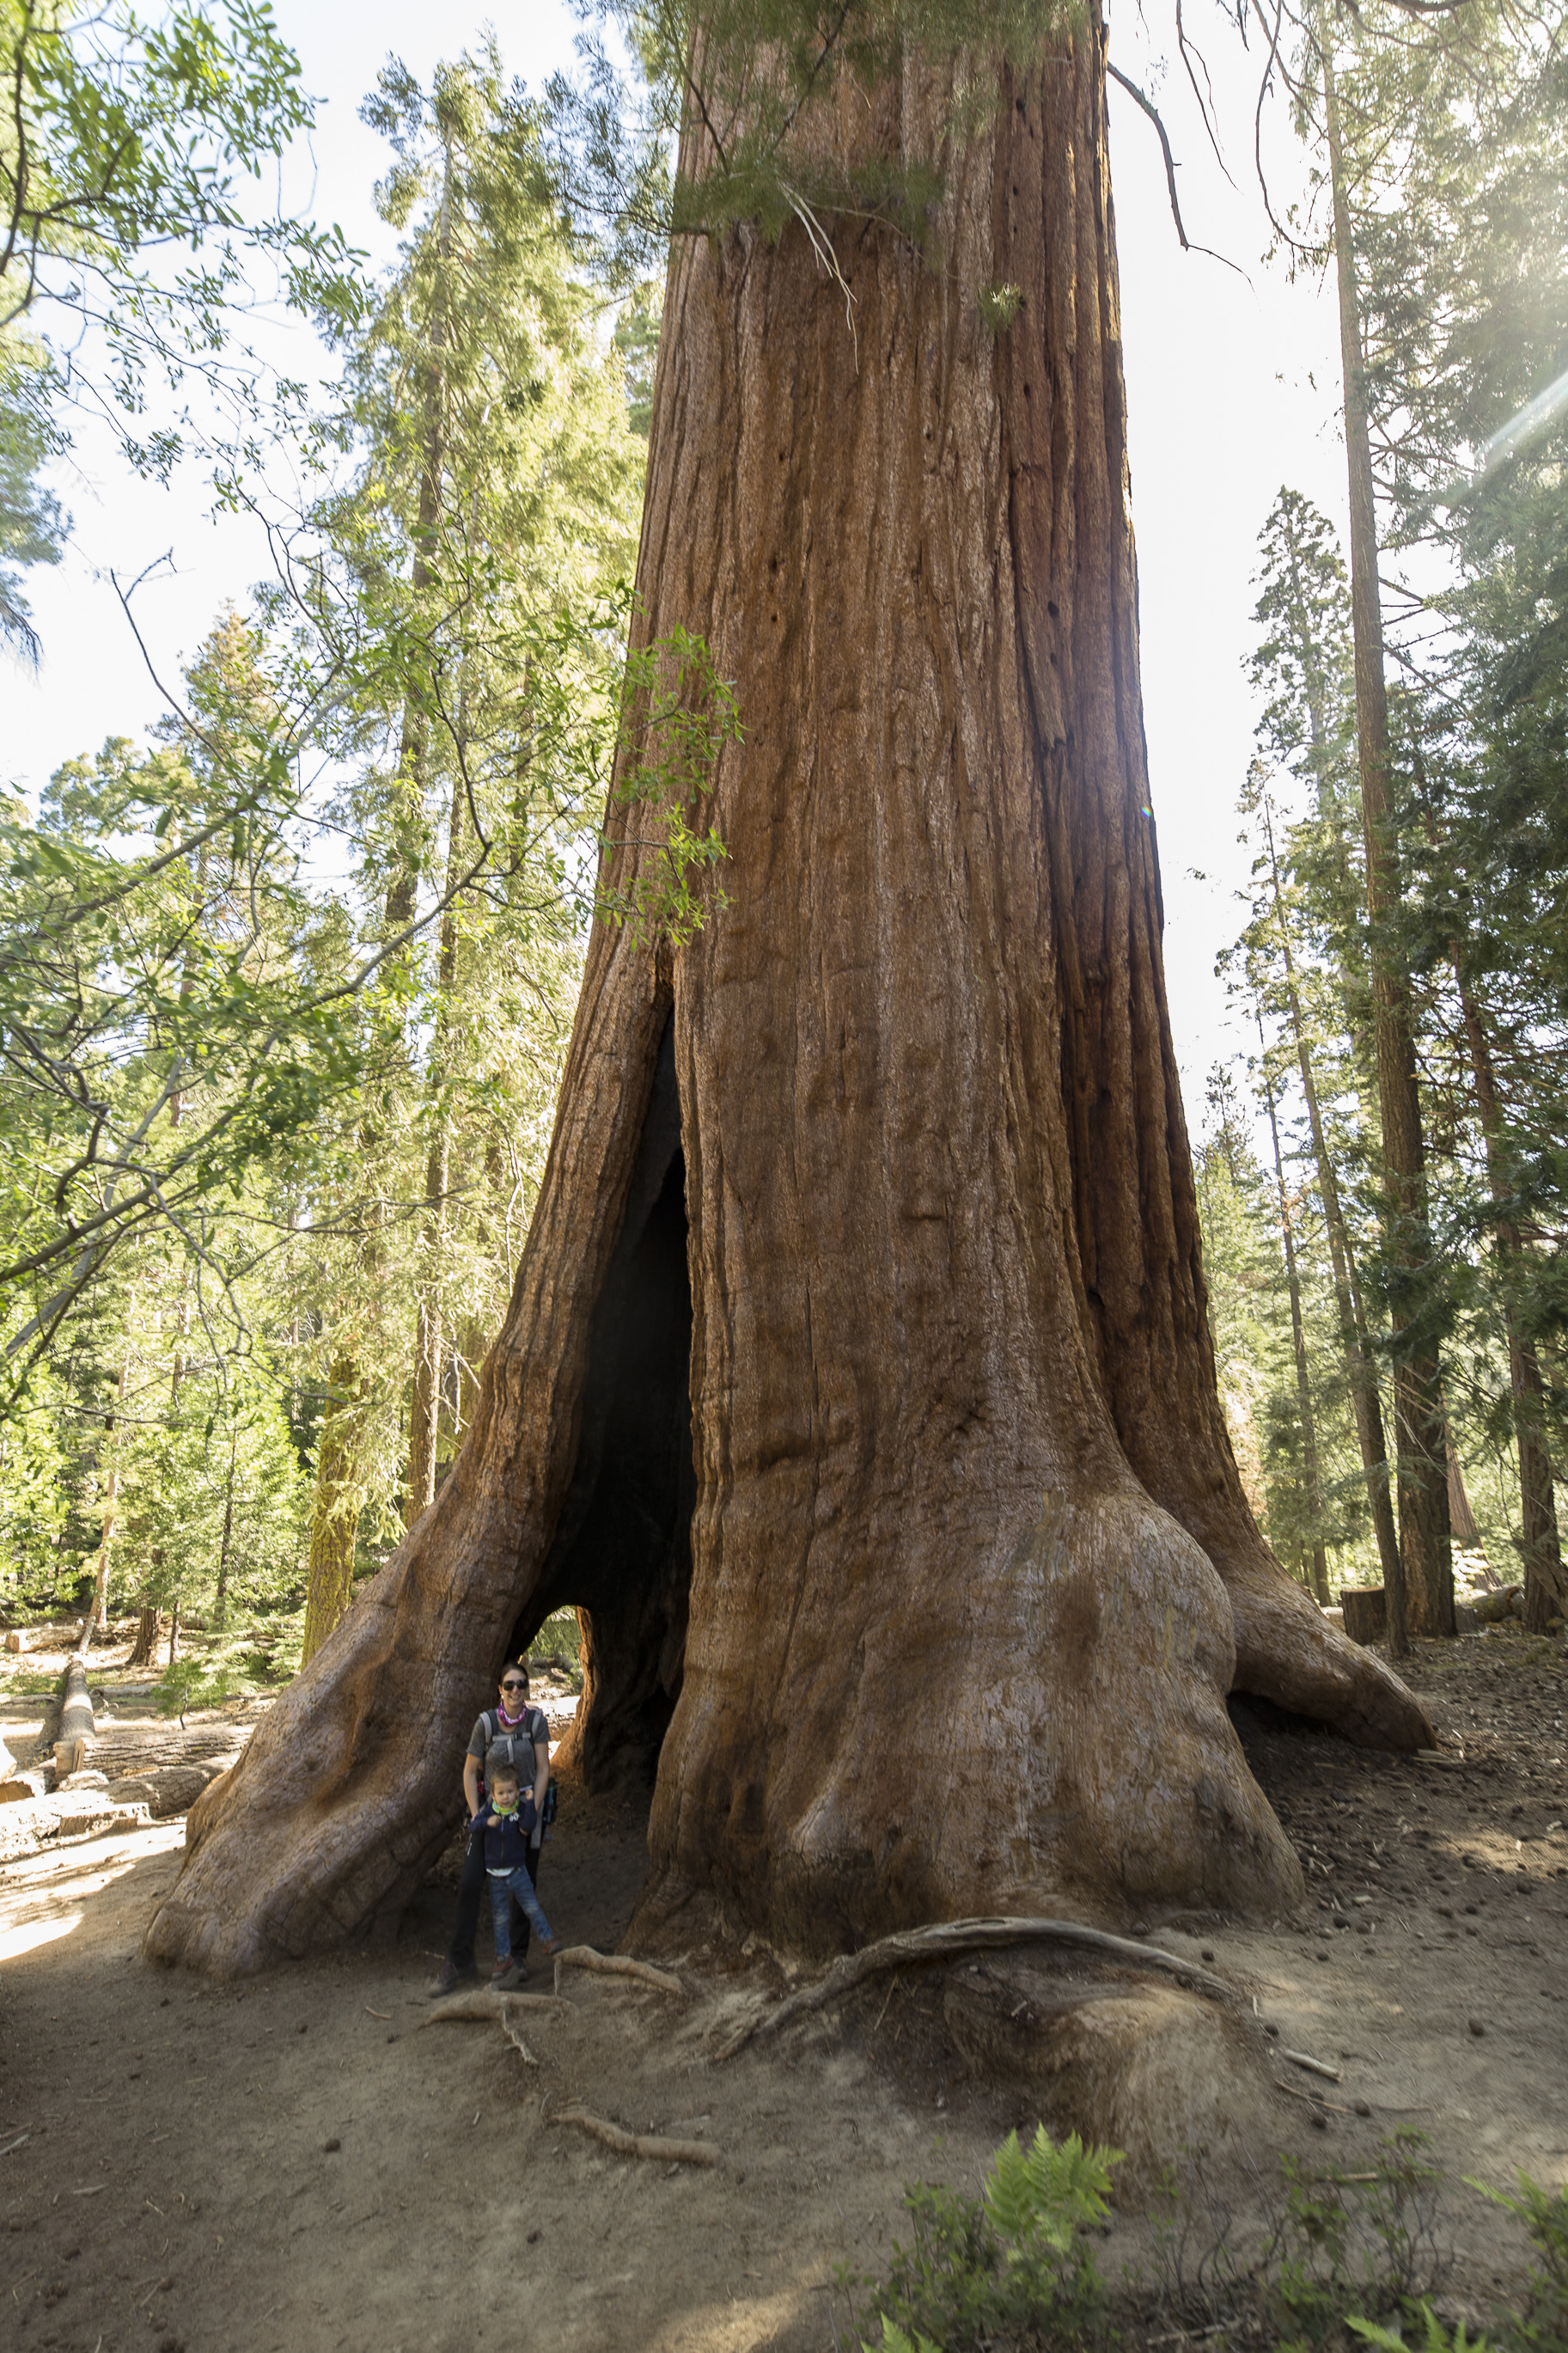
The fact that this lens is manual focus only has not bothered me much. For the nighttime / astro exposures AF is useless anyway and for the landscapes photos during the day I always found enough time (even with two kids) to set the focus for my photos. This is why I can recommend this lens – I really enjoy taking photos with it. Making panoramic images is also a breeze with this lens, you only need a couple of photos (thanks to the 15mm focal length) and even 360° panoramic images with just one row of photos are not too bad.
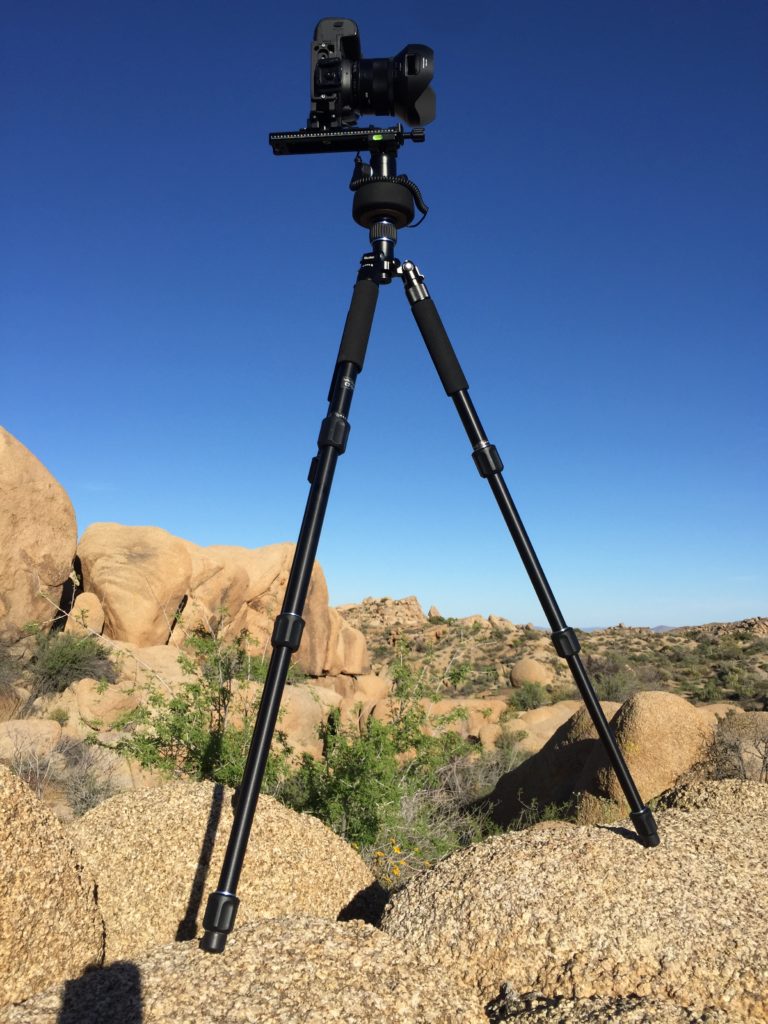
Last but not least a few words about my little hockey puck, the Syrp Genie Mini, here visible between the camera and the tripod:
This little thing is responsible both for the movement (rotation) of the camera during the time lapse and it doubles as an intervalometer. It comes with a free app (connects to the phone via Bluetooth) and it runs like a charm. With a little bit of practice, Holy Grail time lapses in combination with the qDSLR Dashboard app can be done with it too. So this is my third recommendation in this post. The Syrup does what it’s supposed to and so far very reliably.
My postproduction workflow is all in Adobe Lightroom, for the time lapses I’m using the LRTimelapse application from Gunther Wegner. With this time lapses can be edited quite fast and easily. So, that’s enough words for today, as a reward for everyone who made it through this long text (and those who don’t care about the how and scrolled down all the way) – here’s my most recent time lapse from the Fossil Falls campground. Enjoy!
